Friday, October 15, 2010

Whole Kitchen in our studio? - part 1

My real kitchen

Our polymer clay studio is a collection of all disciplines all together :) we collect everything that is usable to our studio - don't we? Whenever i go somewhere i think about my art - every visit to the store, every walk to the park, every stone or leaf on the tree, every tour around the house - i always find something and say - "hey! This can be adapted to my studio!"

Recently the girls at the Israeli forum made a long list of all materials and tools we borrowed from other uses, professions and fields and adapted them to our domain.
I am sure the list is not full and there are many more materials we haven't thought about that can be a great addition to our polymer clay art - you are invited to add yours too!

So let's begin!

Let’s start with the kitchen (that's my real kitchen in that photo!) -
what do we take out of the drawers and shelves? :)

1st - the Oven! all of us use the oven to cure polymer clay, some of us cure in the kitchen oven (don't forget to ventilate well after use) or bought a dedicated oven for the use of polymer clay.

Pasta Machine - i never made fresh pasta myself and this tool never met my kitchen, but some of you may use it for real pasta and then it was moved gracefully to our studio.

Food Processor - this is a great tool of you can get a second one for your studio - no more mixing my hands, just add some of this. Some of that, turn “on” the button, and you have a special polymer clay mix ready to use.

Cookie cutters - my favorite tools ever, these fun tools are easy to find, usually not very expensive, you can use either the simple plastic ones of the heavy duty stainless steel ones, but as always, don't mix food and polymer clay tools together, "borrow" them to your studio and buy new ones for baking.

Roller - Plastic or metal rollers are great, wood rollers wouldn't work so well with the clay (stick), this tool is also a must have in your studio.

Baking paper / parchment paper / wax paper - i am not sure this is the right word in English, but i use this paper a lot in my studio. Place clay on it, store sheets between 2 pages, cure flat objects on it, this paper is wonderful and has many uses in polymer clay work.

Aluminum paper - due to this material durability in heat, this makes it ideal to work with polymer clay and deal with the heat of curing. You can use it as a base armature for your creations, support for designs and many more.

Peeler - we had to take this tool to our studio to peel some clay! the sharp blades are ideal to peel slices of clay, similar to the peeler used by dan cormier, make sure your peeler is sharp enough to do the work and that it is stainless steel so it won't rust.

Tooth picks and shish-kebab skewers - these disposable tools are "multiple-able" in my studio! Great for piercing your beads and used for making all kind of special effects on your clay, can be cured easily and ideal for handling. Every skewer is used many times till it's thrown to the trash - only after it is dirty and worn out.

Corn flower - kitchen ingredient that was adapted to our studio - use it as a release agent, smoothing material and why not make a pudding as a snack :) just kidding!

Salt - another kitchen ingredient we can use for special effects on clay. The salt will be washed with water after curing and will dissolve and leave the clay stamped with the special texture similar to lava effect. Other spices can be used as inclusions to your clay!

Saran plastic wrap - a great material which is also a tool. use this one for wrapping clay (not all plastic wraps are compatible with clay, but Saran™ with Cling does not interact), and it is great for making "beveled" creations.

Plastic wrap - another great way to store our clay! Plastic wrap works great to help protect clay from getting dirty and absorbing dust. However, be careful which brand you choose. Certain types contain plasticizers that can chemically bond with the clay and cause your clay to go brittle or rubbery. Check the words, "Does Not Contain Plasticizers." to be certain which is best for storing your clay. Plastic boxes are good for storing as well, you must make sure that the type of plastic used to make the storage box, is actually compatible with the clay, but you can always place your clay inside the box on wax paper.

Grater - texture tool! great for texturing for beads, especially on the rough side of it!

If you look carefully you'll see that every kitchen tool can contribute something to our clay work, it's a great opportunity to see what we don't need inside those drawers and move them to our "packed anyway" studio drawers :))

That's it for Kitchen materials, next post soon with more tools and materials from other fields.

Do you have other tools and materials from the kitchen? Add it to the list in your comment!

Thursday, October 7, 2010

Polymeri Online 7.10.10

Millefiori fun! that is what i thought when i saw Cathy Harm's etsy store: Hair sets, album covers, pens, key ring compartment boxes and lot's of cool polymer clay gifts!

Lorraine Seibold from British Columbia, Canada, is working with silver sterling and polymer clay to make unique looking jewellry that looks so peaceful! little dots and circles that make the design flowing and eye catching.

Rossella Puoti from Italy is graduated in Organizational Psychology but during her time of inactivity she moved back to her passion: art. Her polymer clay art is so cheerful and colorful!

Helena is also having fun with retro patterns - she used these square/round looking layered canes in all kind of designs and the result is always beautiful!

p.s. - reminder - my special sale of the October triple is about to expire soon! if you wanted to get 3 tutorials & learn how to make unique looking beads for just 16$ per tutorial, this is your chance :)

Monday, October 4, 2010

PolyPediaOnline - Are you ready for some doming, mesh and waves?

I'm so excited to introduce you to October's classes and tutorials featuring fantastic designs and techniques - 3 NEW tutorials this month
Learn the secrets of:

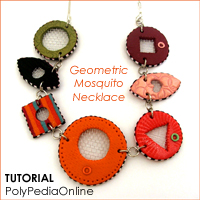
"Geometric Mosquito Necklace"
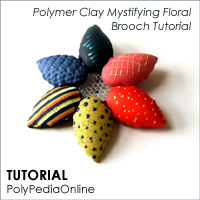
"Mystifying Floral Brooch" &
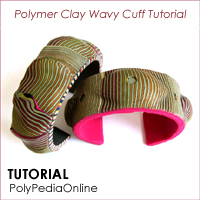
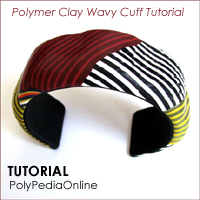
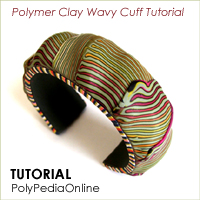
"The Wavy cuff - 3 versions"


"Geometric Mosquito Necklace"
Have you ever found yourself wandering around at stores and looking for items or tools that can suit your polymer clay art?
I do!

One day I was looking for something to help me create a thin but strong polymer clay bead so I thought – why not use some kind of net/mesh for extra strengthening and at the same time gives an elegant look. I looked for something delicate, thin, flexible, ovenproof and not expensive & I found the Mosquito mesh. Here (in Israel), almost every house cover it's windows with this net to protect against Mosquitoes.

My recent tutorial "Geometric Mosquito Necklace" is using the same mesh to create an innovative unique look of flat beads.
These flat beads can be made using all kinds of clays, colors, textures, powders, paints, skinner blends and any thing you can think of. Their beauty is in their uniqueness, The "mesh-clay" combination gives them a very elegant and stylish look.

"Mystifying Floral Brooch"
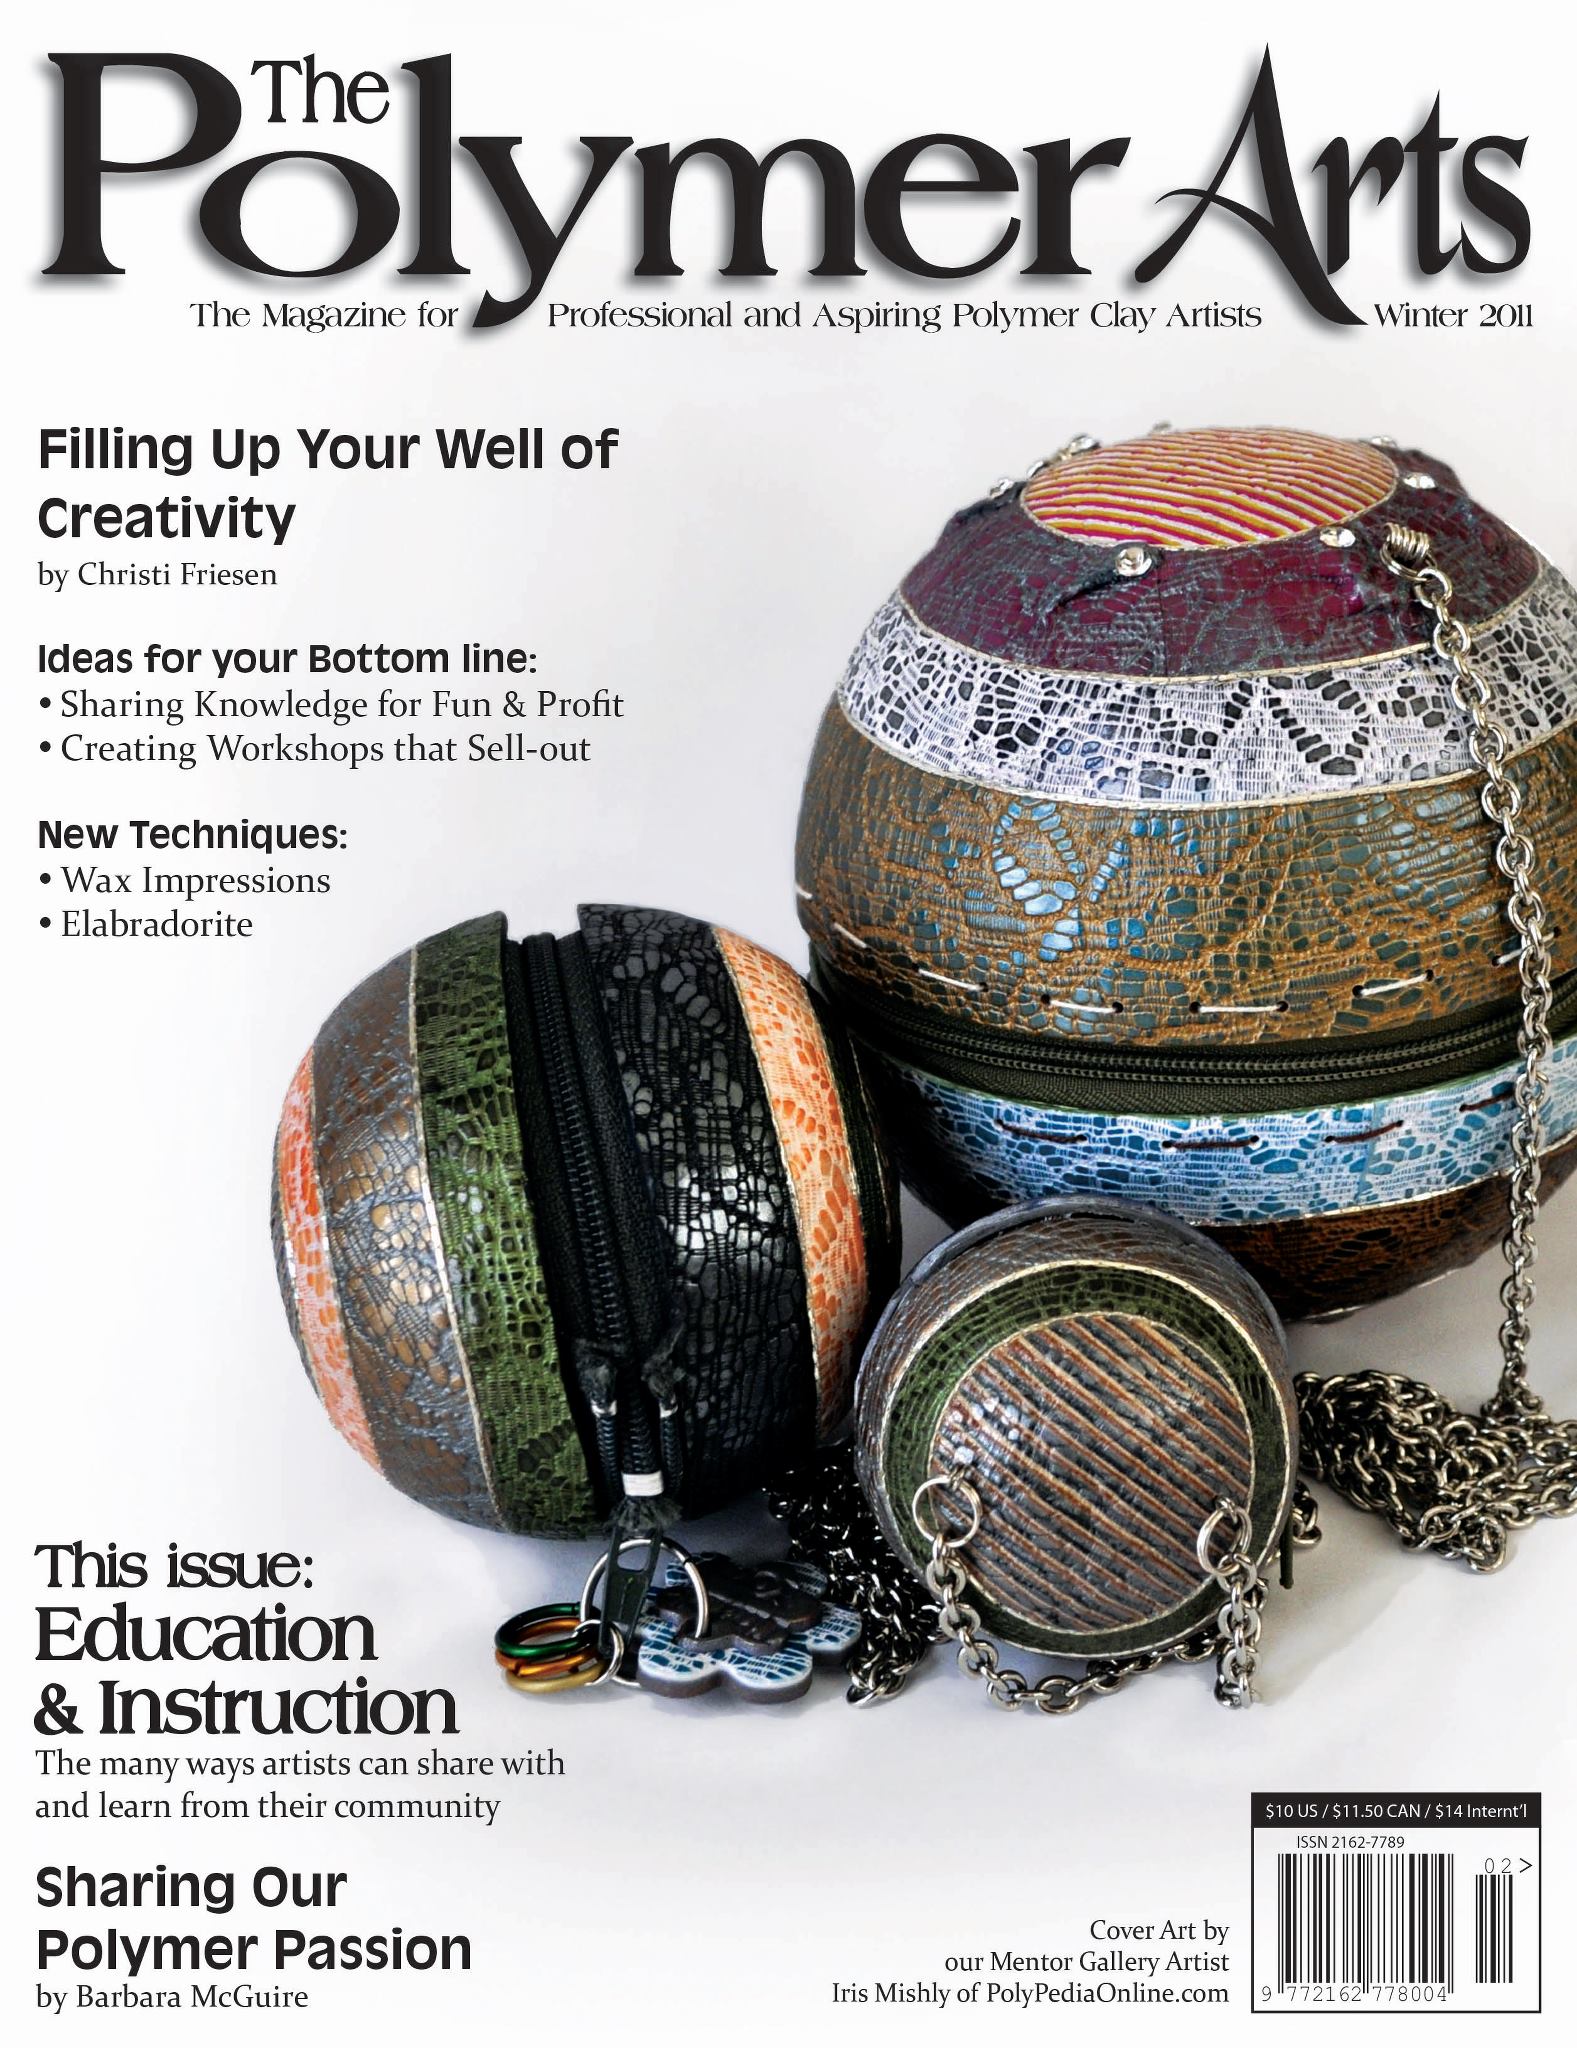
While i was playing with the mesh i came up with a design of a floral brooch with domed beads.
I didn't want to use the traditional curing way on light bulb so i used a different technique. These beads are half domed, half flat and can be easily placed on any flat base - as beads on string, on a bag or jacket.

The Mystifying Floral Brooch has a beautiful combination of mesh-beads, special bumpy dots, plus you will learn how to make half domed beads.


"The Wavy cuff - 3 versions"
Last tutorial offered are 3 cuffs versions which are a nice variation of both the floral brooch tutorial and the striped hollow bracelet tutorial - The Wavy cuffs tutorial is using domed hollow forms with millefiori to create this appealing design.

The 3 tutorials are offered for a special price!

To discover what it is -
CLICK HERE --->
http://www.polypediaonline.com/133688/october-new-tutorials

I recommend you do it now because this special deal will be removed within days..

Keep up claying and have a wonderful day!

Thursday, September 23, 2010

I'm Back and some new Polymeri Online

I'm back after almost 2 weeks i didn't post, now i feel a bit better.

Just after Rosh Hashana holiday when getting back from my son's swim class we were both hit in a traffic accident, thanks god we are ok, nothing broken, only pains and bruises that hopefully will heal soon.
Nothing prepares you to this experience, even when seeing and hearing about it over and over on TV and radio, I didn't understand what this means.
I lost my consciousness, my head was hit, parts of those moments i don't remember very well. Funny, but the only thing i was thinking about before i got into the CT scan is my artistic skills when checking my memory. Sounds totally out of place but i did think of my clay that moment. I know it's not a joke & i am not a religious person, but i feel that someone, up there, was keeping us safe and saved us that day. The car was totally ruined.

So, again, sorry for being away, i promise to be back on track and in my dear studio,
i am sure that this is the best cure for me.

I got some nice links for you this week, Just look at these beautiful mushrooms and tiny creatures in Cade's store, made of polymer clay, paper clay, sculpey & stamps

another wonderful crafted and customizable scented jewelry made by tinyhands, sweets and more sweets!

Sylvia's blog is full of great projects and a demo on how to twist a earring wire.

take care and please, drive carefully.

Friday, September 10, 2010

Polymeri Online 10.9.10

Just a quick polymeri online while i am on a short vacation in beautiful city Eilat on Rosh Hashana holiday, weather is hot and sunny, kids are at the swimming pool and snorkeling, and everything is wonderful :)

I was touring in the shops, i saw all kind of wonderful Pandora style beads, usually made of glass, these beads are great and so elegant.
Then i saw Dani's polymer clay beads and loved them, She is from Australia and her beads are sold on "madeit" site and in Etsy too.

and one more... Julie Eakes posted about the new cane slicer by Carol Simmons, all we can is drool more and more, wishing for a machine like that to be a part of our studio, i know everyone will love to have it but the people most need it are the ones working with huge canes. I also saw her presentation in Synergy, and indeed her process for making her pendants and kaleidoscoping is wonderful. check her thin thin slicing...

Tuesday, September 7, 2010

Shana Tova!

Rosh Hashanah in the jewish tradition is the "head of the year, or the "start" of a new year, one of the foods that is most commonly eaten on Rosh Hashanah are apples dipped in honey, for this reason people like the holiday symbols and this is a good opportunity to create something nice with apples, honey, bees or similar related themes.

In these 2 videos i want to show you how to make a nice apple magnet using an apple shaped cookie cutter and a rubber stamp decorated with a smiley bee. This magnet will look nice on your fridge, dish washer and even on your car door! let's wish every one happy holidays! - Hag Sameach (in hebrew)!


Shana Tova to all my friends and a great year to come!

Sunday, September 5, 2010

Fun with Beads!

When i met Ronna Sarvas Weltman in the Feb 2010 CFCF event, i was very happy i can take a class with her, she was teaching how to make one of her stunning rings.


Recently, I received her 2 new dvd's and i enjoyed watching them very much.
In her 1st dvd - Mixed-Media: How to Make Polymer Clay Beads, Ronna is covering all the basics about conditioning and making her known beads, if you saw her book you would probably know what i am talking about, her unique style is shown in a friendly video where you can see not only photos, it's the working hands, movements and special tricks. I liked her tip about curing round beads!
in the video you will master beads shaping, curing, and texturing.

In her 2nd dvd - Metalwork: How to Shape, Texture, and Antique Wireworked Jewelry, Ronna shows step by step how to add depth and sophistication to simple wire jewelry - antiquing basics , jewelry-making skills such as making your own clasps and a fabulous ring in only 5 minutes!

This is great! thank you Ronna :)