Our polymer clay studio is a collection of all disciplines all together :) we collect everything that is usable to our studio - don't we? Whenever i go somewhere i think about my art - every visit to the store, every walk to the park, every stone or leaf on the tree, every tour around the house - i always find something and say - "hey! This can be adapted to my studio!"
Recently the girls at the
Israeli forum made a long list of all materials and tools we borrowed from other uses, professions and fields and adapted them to our domain.
I am sure the list is not full and there are many more materials we haven't thought about that can be a great addition to our polymer clay art - you are invited to add yours too!
So let's begin!
Let’s start with the kitchen (that's my real kitchen in that photo!) -
what do we take out of the drawers and shelves? :)
1st - the Oven! all of us use the oven to cure polymer clay, some of us cure in the kitchen oven (don't forget to ventilate well after use) or bought a dedicated oven for the use of polymer clay.
Pasta Machine - i never made fresh pasta myself and this tool never met my kitchen, but some of you may use it for real pasta and then it was moved gracefully to our studio.
Food Processor - this is a great tool of you can get a second one for your studio - no more mixing my hands, just add some of this. Some of that, turn “on” the button, and you have a special polymer clay mix ready to use.
Cookie cutters - my favorite tools ever, these fun tools are easy to find, usually not very expensive, you can use either the simple plastic ones of the heavy duty stainless steel ones, but as always, don't mix food and polymer clay tools together, "borrow" them to your studio and buy new ones for baking.
Roller - Plastic or metal rollers are great, wood rollers wouldn't work so well with the clay (stick), this tool is also a must have in your studio.
Baking paper / parchment paper / wax paper - i am not sure this is the right word in English, but i use this paper a lot in my studio. Place clay on it, store sheets between 2 pages, cure flat objects on it, this paper is wonderful and has many uses in polymer clay work.
Aluminum paper - due to this material durability in heat, this makes it ideal to work with polymer clay and deal with the heat of curing. You can use it as a base armature for your creations, support for designs and many more.
Peeler - we had to take this tool to our studio to peel some clay! the sharp blades are ideal to peel slices of clay, similar to the peeler used by dan cormier, make sure your peeler is sharp enough to do the work and that it is stainless steel so it won't rust.
Tooth picks and shish-kebab skewers - these disposable tools are "multiple-able" in my studio! Great for piercing your beads and used for making all kind of special effects on your clay, can be cured easily and ideal for handling. Every skewer is used many times till it's thrown to the trash - only after it is dirty and worn out.
Corn flower - kitchen ingredient that was adapted to our studio - use it as a release agent, smoothing material and why not make a pudding as a snack :) just kidding!
Salt - another kitchen ingredient we can use for special effects on clay. The salt will be washed with water after curing and will dissolve and leave the clay stamped with the special texture similar to lava effect. Other spices can be used as inclusions to your clay!
Saran plastic wrap - a great material which is also a tool. use this one for wrapping clay (not all plastic wraps are compatible with clay, but Saran™ with Cling does not interact), and it is great for making "beveled" creations.
Plastic wrap - another great way to store our clay! Plastic wrap works great to help protect clay from getting dirty and absorbing dust. However, be careful which brand you choose. Certain types contain plasticizers that can chemically bond with the clay and cause your clay to go brittle or rubbery. Check the words, "Does Not Contain Plasticizers." to be certain which is best for storing your clay. Plastic boxes are good for storing as well, you must make sure that the type of plastic used to make the storage box, is actually compatible with the clay, but you can always place your clay inside the box on wax paper.
Grater - texture tool! great for texturing for beads, especially on the rough side of it!
If you look carefully you'll see that every kitchen tool can contribute something to our clay work, it's a great opportunity to see what we don't need inside those drawers and move them to our "packed anyway" studio drawers :))
That's it for Kitchen materials, next post soon with more tools and materials from other fields.
Do you have other tools and materials from the kitchen? Add it to the list in your comment!


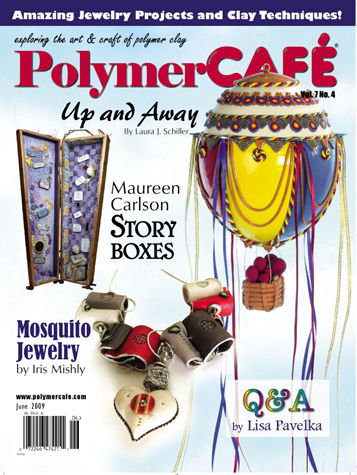
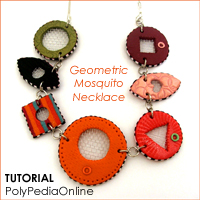 "Geometric Mosquito Necklace"
 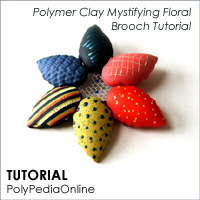 "Mystifying Floral Brooch"